Every year, millions of healthy cats and dogs enter shelters across the United States simply because there are not enough homes for them. Spaying and neutering is the single most effective tool we have to change that number. Organizing a community clinic puts that tool directly into your hands. Whether you run a small rescue, work as a veterinarian, or just care deeply about the animals in your neighborhood, launching a low-cost spay and neuter clinic is one of the most impactful projects you can take on. The good news is that you do not need a massive budget or a full-time staff to get started. You need a clear plan, a committed team, and a willingness to solve problems as they come.
Organizing a spay and neuter clinic is one of the most effective ways to reduce pet overpopulation in your area. This guide covers every stage from finding a location and recruiting veterinary volunteers to scheduling appointments and providing post-surgery care. Whether you are a shelter manager, veterinarian, or dedicated volunteer, these practical steps will help you launch a successful low-cost clinic that makes a lasting real difference for pets and people in your community.
Why Your Community Needs a Spay and Neuter Clinic
Pet overpopulation is not just a shelter problem. It is a community problem. When too many animals are born without enough homes, shelters fill up, euthanasia rates climb, and local resources get stretched thin. A single unspayed female cat can produce dozens of kittens in one year. Dogs contribute to the cycle too. Low-cost clinics remove the biggest barrier most pet owners face: the cost of surgery. For many families, a $400 vet bill is simply out of reach. A clinic that charges $40 or $60 makes the responsible choice possible.
Beyond the numbers, these clinics build trust. People see that their community cares about animals. Neighbors talk to each other. A family that brings in one dog for a spay often returns with a friend’s cat the next month. The ripple effect is real.
Getting Started: The Core Planning Phase
The planning phase is where most clinics either take off or stall. You do not need to have everything figured out on day one, but you do need a clear sequence of actions. Here is the order that works for most successful clinics.
-
Form a small steering committee. Three to five people who can each own a piece of the work. Include at least one person with veterinary experience and one person who handles logistics or fundraising. Meet weekly in the beginning.
-
Choose a date and a backup date. Check for conflicts with local holidays, major events, and other animal welfare activities. Give yourself at least eight to twelve weeks of lead time for the first clinic.
-
Secure a location. Veterinary clinics, community centers, fairgrounds, and even large animal barns can work. The space must have running water, reliable electricity, heating and cooling, and enough room for a surgical area, recovery space, and a check-in station. Approach a local vet clinic first. Many are willing to donate space on a day they are normally closed.
-
Set a surgery goal. Start small. For a first clinic, aim for 20 to 30 animals. You can scale up later. Setting a realistic cap prevents burnout and keeps quality high.
-
Create a budget and find funding. List every cost: surgical supplies, medications, cleaning supplies, printed materials, and any rental fees. Then look for grants from animal welfare organizations, local businesses, and individual donors. Many communities have veterinary foundations that specifically support spay and neuter work.
-
Recruit veterinary professionals. You need at least one licensed veterinarian and two to three trained veterinary technicians or assistants. Reach out to local clinics, veterinary schools, and professional associations. Be clear about the time commitment and the mission.
-
Recruit non-medical volunteers. You need people for check-in, animal handling, recovery monitoring, cleaning, and client communication. Aim for at least one volunteer for every two animals scheduled.
-
Design a client registration system. Keep it simple. An online form works well for many clinics. Paper forms are fine too. Collect pet name, species, breed, age, weight, and owner contact information. Ask about any known health issues.
-
Order supplies well in advance. Surgical packs, suture materials, gloves, antiseptic, syringes, needles, pain medication, antibiotics, and microchips if you plan to offer them. Make a master list and check it twice.
-
Plan the post-surgery flow. Animals need a quiet, warm place to recover. Owners need clear written instructions for aftercare. Plan for emergencies by identifying the nearest 24-hour emergency vet and having their contact information ready.
Building Your Dream Team
Your team is the heart of the clinic. The right people make everything run smoother. Here are the roles you need to fill and the qualities to look for in each.
-
Lead veterinarian: This person oversees all surgeries, sets the medical protocols, and makes the final call on any animal that seems too sick or too fragile for surgery. Look for someone with high-volume spay and neuter experience.
-
Veterinary technicians and assistants: They prep animals, monitor anesthesia, assist during surgery, and manage recovery. Their skill level directly affects how many surgeries you can complete safely.
-
Check-in coordinator: This person greets owners, confirms appointments, collects fees, and reviews consent forms. They set the tone for the entire experience.
-
Animal handlers: They move animals from check-in to the pre-surgery area, help with restraint, and keep everyone calm. Patience and a gentle touch matter more than experience.
-
Recovery monitors: After surgery, animals need to be watched until they are awake and stable. This role is ideal for veterinary students or experienced pet owners who can spot warning signs.
-
Cleaning and logistics crew: Between surgeries, someone needs to clean surfaces, restock supplies, and manage the flow of animals. This role keeps the whole operation moving.
“The biggest mistake I see in new clinics is underestimating the number of people you need in recovery. Animals wake up at different rates, and you need eyes on every single one. One person for every four animals in recovery is a good rule of thumb.” — Dr. Maria Alvarez, veteran shelter veterinarian and founder of a mobile spay and neuter program in Texas.
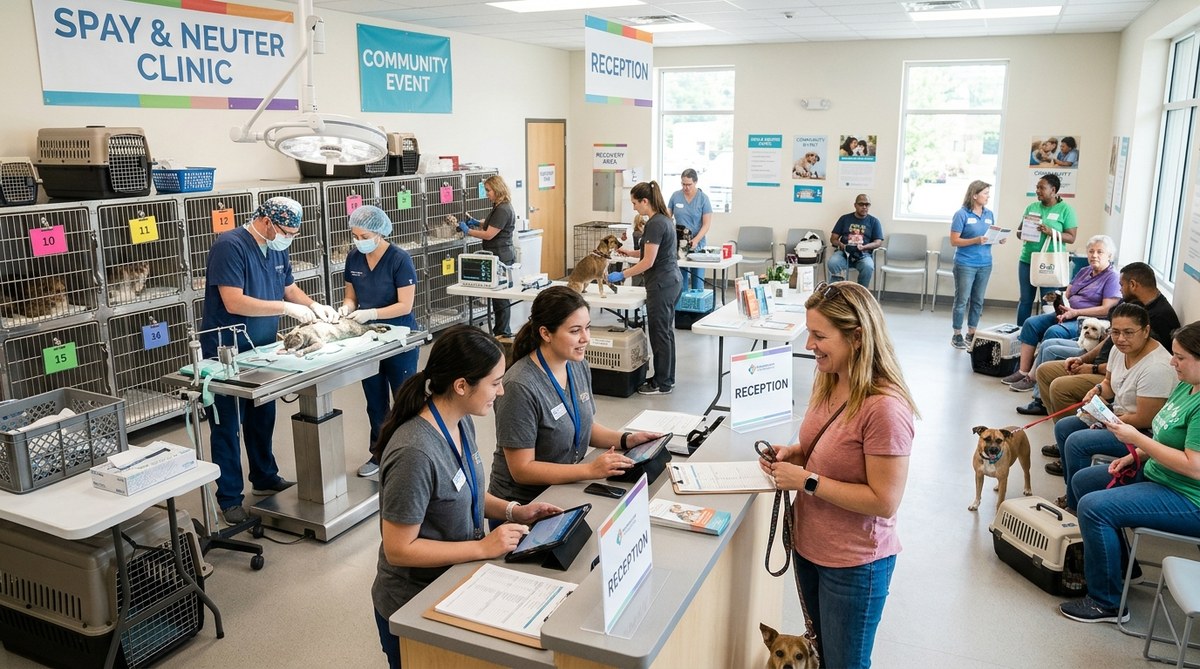
Setting Up the Clinic Space
The layout of your clinic space determines how smoothly the day goes. You want a one-way flow from check-in to surgery to recovery to discharge. This prevents bottlenecks and reduces stress for the animals. The table below shows the best practices and common mistakes for each area of the clinic.
| Area | Best Practice | Common Mistake |
|---|---|---|
| Check-in station | Set up near the entrance with a separate waiting area for owners | Forcing owners and animals to wait together in a cramped hallway |
| Pre-surgery holding | Use quiet, temperature-controlled kennels or crates away from noise | Leaving animals in carriers on the floor where staff trip over them |
| Surgical suite | Dedicate a clean, well-lit room with a surgical table and instrument trolley | Performing surgeries in a multipurpose room with poor lighting and foot traffic |
| Recovery area | Create a warm, dim, quiet space with soft bedding and easy cleanup | Placing recovery cages in a drafty hallway or near loud equipment |
| Discharge station | Have a separate exit where owners pick up their pets and get aftercare instructions | Mixing discharge with check-in, causing confusion and longer wait times |
One extra tip that experienced organizers swear by: do a walkthrough of your space on paper first. Draw the floor plan. Mark where each table, crate, and supply cart will go. This simple exercise reveals problems before they happen.
Spreading the Word and Managing Appointments
You have the team, the space, and the supplies. Now you need the animals. Getting the word out requires more than a single Facebook post. Think about where your target audience actually gets information.
Start with local partners. Ask shelters, rescue groups, and pet supply stores to share your clinic information. Post flyers at laundromats, community centers, and churches. Use Nextdoor and local Facebook groups. Reach out to Spanish-language media if your community includes Spanish-speaking families. Many low-income pet owners do not follow English-language social media, so print materials and word of mouth matter.
When people call or sign up, be warm and helpful. Answer questions about pricing, what to bring, and how to prepare their pet. Emphasize that the animal must be fasted the night before surgery, except for water. Send a reminder the day before each appointment.
Keep a waitlist. Cancellations happen, and a waitlist ensures no surgery slot goes to waste. For your first clinic, overbook by no more than 10 percent to account for no-shows.
Your First Clinic Day Checklist
When the day finally arrives, a checklist keeps everyone grounded. Print copies and hand them to each team leader.
- Arrive two hours before the first appointment to set up.
- Confirm that the surgical suite is clean and instruments are sterilized.
- Check that all medications and supplies are in place.
- Review the schedule and assign animals to specific surgery slots.
- Greet each owner with a smile and a consent form.
- Weigh each animal and confirm their health status.
- Move animals to the pre-surgery holding area in order of their surgery slot.
- Begin surgeries on time. Stick to the schedule as closely as possible.
- Move each animal to recovery immediately after surgery.
- Monitor recovery closely. Record when each animal wakes up.
- Call owners when their pet is ready for pickup.
- Go over aftercare instructions verbally and in writing.
- Clean and sanitize every surface between animals and at the end of the day.
Throughout the day, stay flexible. If a surgery takes longer than expected, adjust the schedule. If an animal shows signs of illness, consult the lead veterinarian. Safety comes first, always.
Turning One Clinic Into a Movement
A single clinic saves dozens of lives. A regular clinic saves hundreds. After your first event, gather your team and talk about what worked and what did not. Send a survey to the pet owners who participated. Ask them what they would change. Use that feedback to plan the next one.
Look for ways to expand. Could you partner with a local rescue to offer microchipping? Could you add a vaccination station? Could you offer transportation for owners who do not have a car? Each small improvement makes the next clinic better.
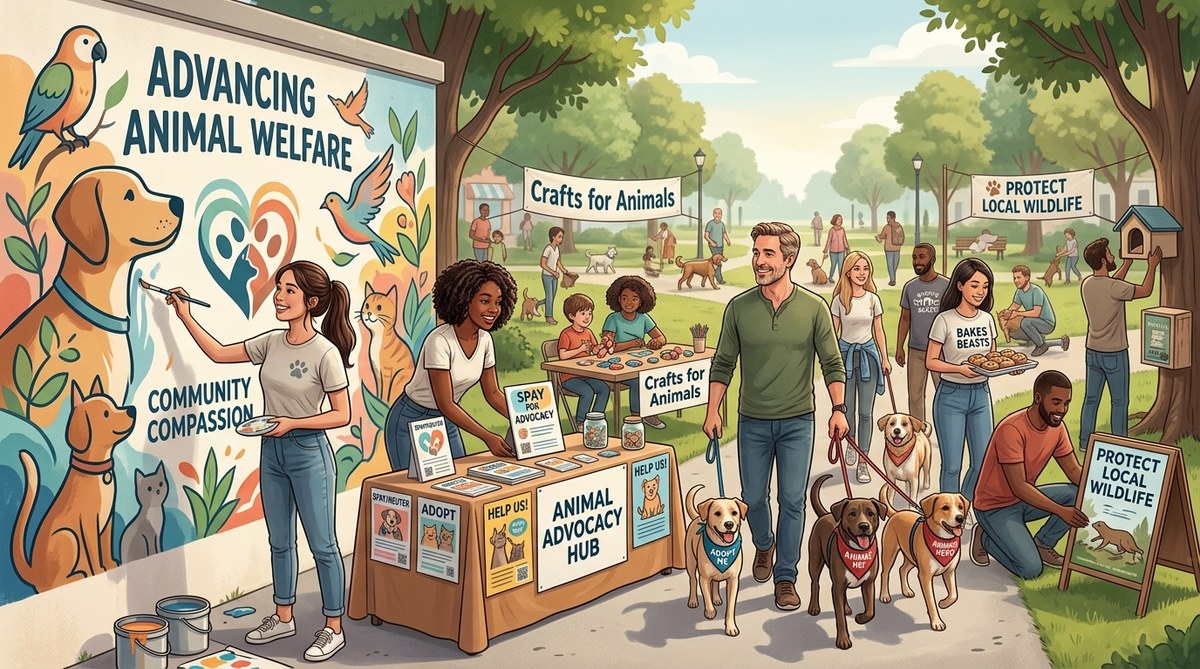
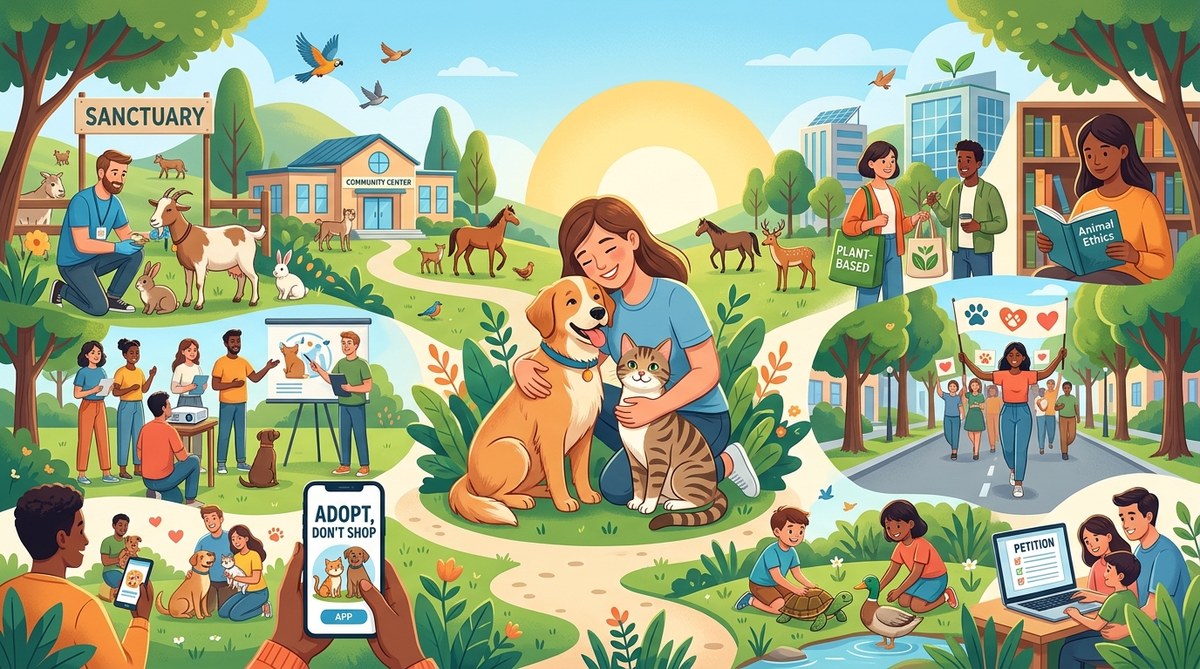
The work you are doing also connects to broader advocacy efforts. When you see how many animals need help, you may feel called to do more. You can learn how to advocate effectively for animal rights in your community so the changes you start at the clinic level grow into lasting policy shifts. At home, you can support animal rescue efforts from home by spreading the word and donating supplies to your local shelter.
The need is big, but the solution is clear. One clinic at a time, one animal at a time, you are building a community where every pet has a chance to live a healthy, safe life. That is worth every ounce of effort you put in. Start planning today. Your community is waiting.